
How to Pick the Right Print Size (and Not Wreck It in the Process)
Hey, look at you, being all thoughtful and gifting art! Or maybe you’re treating yourself (as you should). Either way, let’s make sure you don’t end up with a print that’s too tiny to appreciate or too big to fit anywhere.
Choosing the right size is not just about what looks good online—it’s about making sure it works in real life. And once you have it, you’ll want to keep it looking fresh. Let’s get into it.
Picking the Perfect Print Size
Prints aren’t one-size-fits-all. You wouldn’t buy shoes without knowing your size (hopefully), so don’t just grab a random print and hope it fits the space. Here’s how to get it right:
1. Consider the Space
Before you even think about adding a print to your cart, take a good look at the space it’s going to live in.
- Is it a tiny apartment or a massive open-concept loft?
- Will it be the star of the wall, or is it part of a gallery setup?
- Does the room have high ceilings or lower, cozier vibes?
A print that looks perfect on your phone screen might not translate well once it’s hanging. A huge print in a tiny space can feel overwhelming, while a small print on a big empty wall can look lonely (tragic).
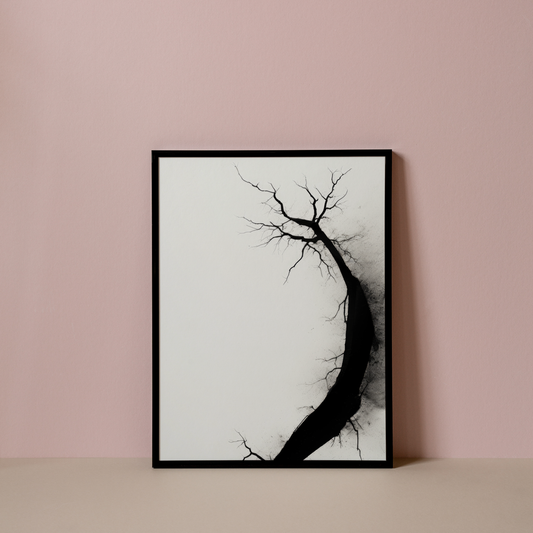
 (9 x 11 print size for reference)
2. Measure It Out
If the print is for you, grab a measuring tape and get to work. Don’t just eyeball it—measure the exact wall space where you want it to go. If you’re stuck between sizes, here’s a trick:
- Use painter’s tape to outline different sizes on the wall. This gives you a real-life preview without any commitment.
- Step back and see how it feels. Too big? Too small? Just right?
If it’s a gift, you probably don’t have the luxury of measuring your friend’s wall (because that would be weird). In that case, go for standard sizes:
- 18” x 24” – A safe bet for most spaces, especially apartments.
- 24” x 36” – The classic poster size. Not too big, not too small.
- 36” x 48” – A statement piece for someone with lots of wall space.
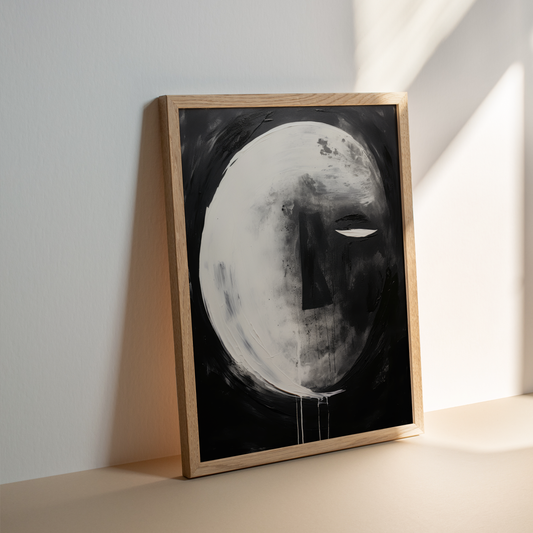
 (20 x 16 print size for reference)
3. Match the Art to the Size
Not all art looks good at every size. Here’s a quick guide:
- Busy, detailed art? Go bigger. Tiny details can get lost in smaller prints.
- Minimalist or typography prints? Smaller sizes work just fine.
- Photography? It depends! Black-and-white shots can look striking at any size, but a high-detail landscape or cityscape benefits from a larger print.
 (Comparing print sizes)
4. Don’t Forget the Frame
Frames can change the whole vibe of your print—and they add extra width. A thick, ornate frame makes the piece look bigger, while a thin, sleek frame keeps it simple.
- If you’re going for a gallery wall, mix different sizes for a curated look.
- If this print is a standalone statement piece, choose a frame that complements the art, not one that overpowers it.
- If you’re gifting, consider a standard-sized print so the recipient can easily find a frame without spending a fortune on custom framing.
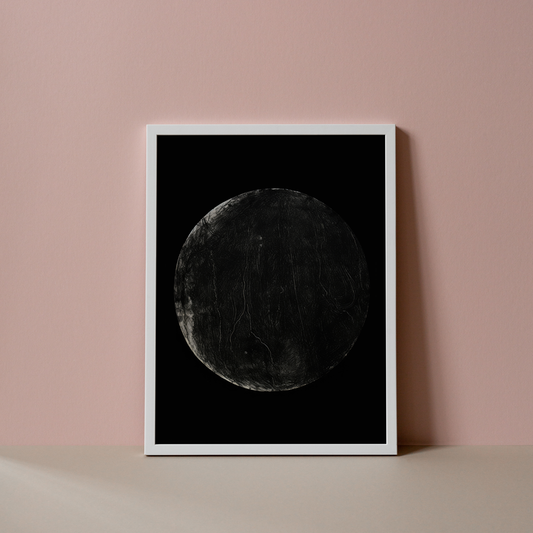
 (24 x 36 print size for reference)
Keeping Your Prints in Top Shape
Alright, so you’ve picked the perfect print. Now let’s talk about keeping it crisp, clean, and fabulous for years to come.
1. Unboxing Like a Pro
Your print is arriving rolled up in a tube. This is normal. It keeps it safe during shipping, but that also means you need to be gentle when opening it.
- DO NOT grab the nearest box cutter and go wild.
- DO carefully unroll it on a clean, flat surface.
- DO NOT use your hands to flatten it aggressively. You don’t want creases or fingerprints all over your masterpiece.
2. Flattening It Out
Since your print was rolled up, it needs a little time to relax before it’s ready for display.
Option 1: The Slow & Safe Method
- Lay the print face down on a clean surface.
- Place some heavy books on top (nothing with sharp edges).
- Leave it for a couple of days and let gravity do its thing.
Option 2: The Brave & Quick Method
- Roll the print (very carefully) in the opposite direction.
- Hold it like that for a minute.
- Lay it flat and put some light pressure on it.
- Warning: This method is faster, but riskier if you’re not careful.
3. Framing for Longevity
If you want to keep your print looking fresh for years:
- Frame it – Protects it from dust, fingerprints, and accidental spills.
- Use UV-protected glass – Prevents fading if it’s exposed to sunlight.
- Avoid humid areas – Hanging art in the bathroom? Probably not the best idea unless it's properly protected.
4. If You’re Skipping the Frame
No judgment—some prints look great as-is! Just make sure to:
- Dust it occasionally with a dry, soft cloth.
- Keep it away from direct sunlight to prevent fading.
- Use damage-free wall mounts so you’re not punching unnecessary holes in your walls.

Final Thoughts
And there you have it! Now you know how to:
✅ Pick the right print size (no more tiny disappointments or oversized regrets)
✅ Unbox it safely (without tragic slicing accidents)
✅ Keep it looking amazing (whether framed or unframed)
Now go forth and give the gift of fabulous art—or treat yourself to something new for your walls. You’ve got this.